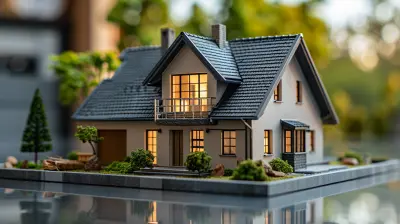
Transforming a Fixer Upper: A Step-by-Step Guide to Revitalizing a Property
26 March 2026
Buying a fixer-upper can be both an exciting and nerve-wracking experience. On one hand, you get the chance to turn an outdated or neglected home into your dream space. On the other, it can be a money pit if you’re not strategic about the renovations.
So, how do you take a rundown property and turn it into a beautiful, functional home? Let’s break it down step by step. 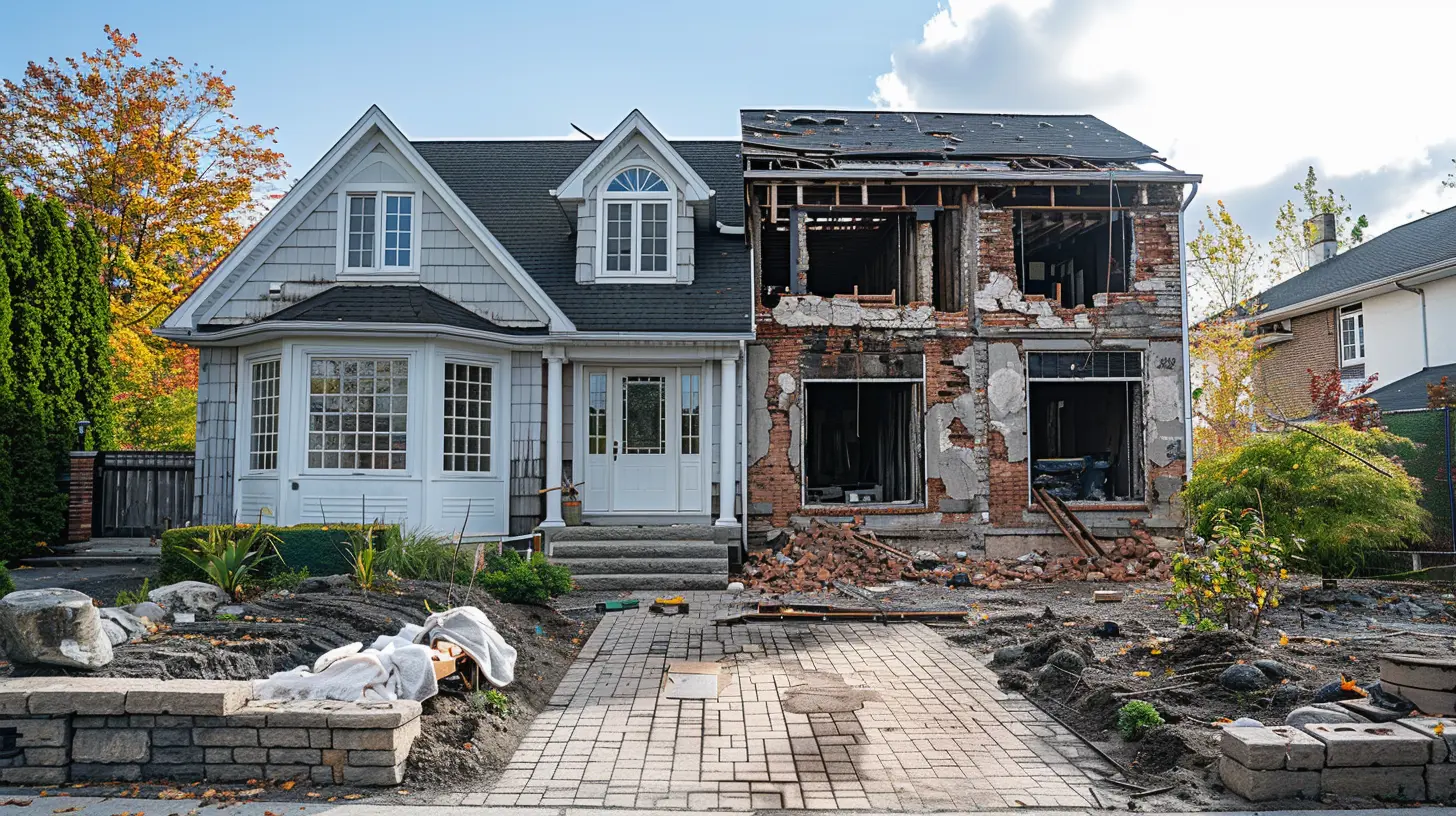
Step 1: Assessing the Property’s Condition
Before picking up a sledgehammer, you need to take stock of what you’re dealing with. This first phase is all about identifying the potential and problems of your fixer-upper.Hire a Professional Inspection
A home inspector can uncover hidden issues like structural damage, electrical problems, plumbing nightmares, or mold infestations. While this might cost a few hundred dollars, it can save you from costly surprises down the road.Make a List of Priorities
Not all repairs are created equal. Break down your list into must-haves (things that affect safety or structural integrity) and nice-to-haves (cosmetic upgrades). A failing roof or cracked foundation should take priority over new kitchen cabinets.
Step 2: Set a Realistic Budget
Reality check—renovations almost always cost more than expected. Between materials, labor, and unforeseen repairs, things add up quickly.Estimate Costs for Major Repairs
Get quotes from multiple contractors for tasks like roofing, electrical work, or plumbing fixes. If you're DIY-ing, research the costs of materials and tools.Add a Contingency Fund
Unexpected costs are inevitable—plan for them! Set aside at least 20% of your budget for surprises. That way, when you discover that the bathroom pipes are corroded, you’re not completely thrown off course.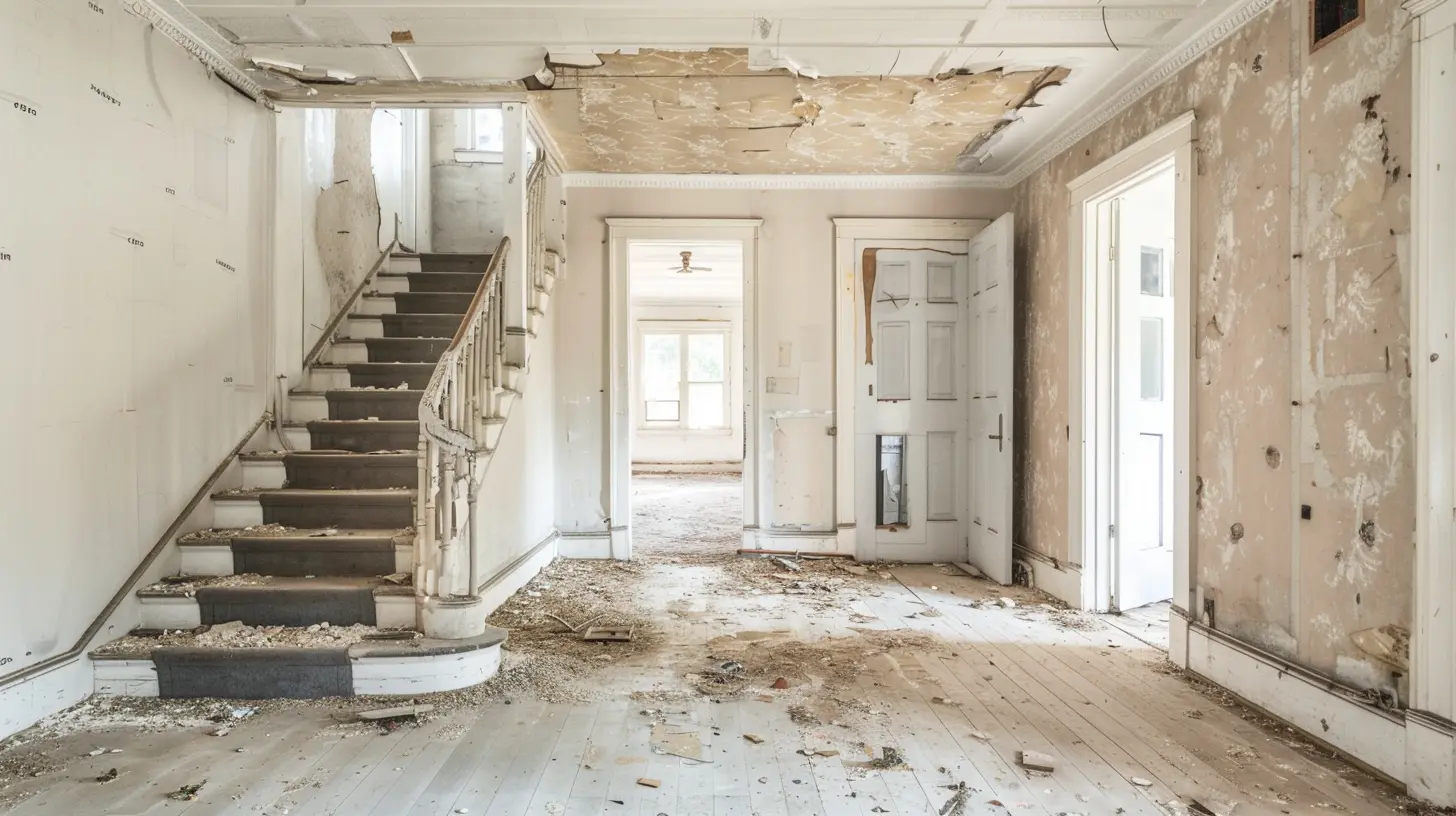
Step 3: Secure Permits and Approvals
Many home renovation projects require building permits, especially for structural changes, electrical work, and plumbing modifications. Ignoring this step can lead to hefty fines or complications when selling the home later.Check with your local building department to find out what’s required before you start demolishing walls. 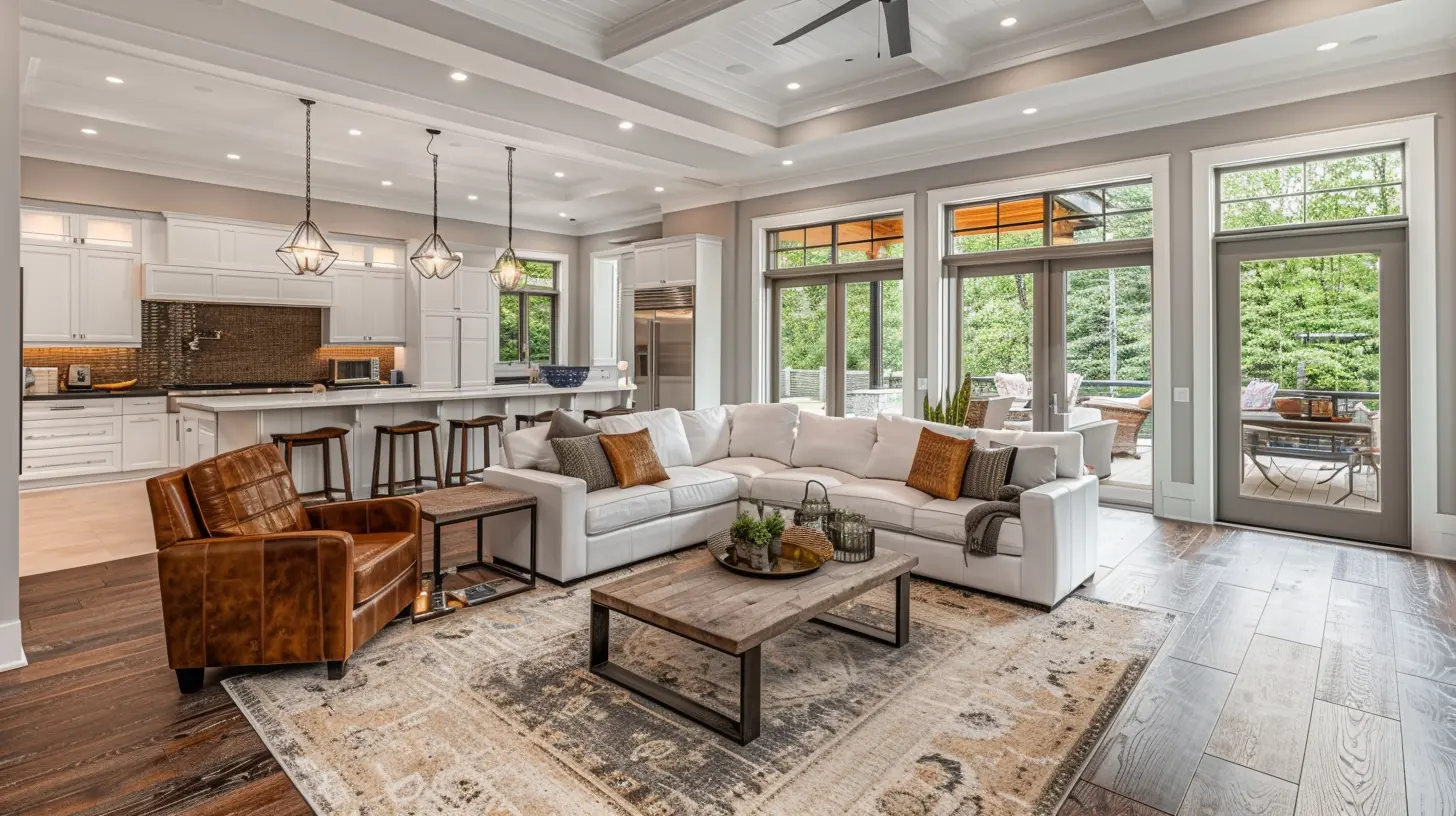
Step 4: Demolition – Out with the Old
With your budget in place and permits in hand, it’s time for demolition. But don’t just start swinging a hammer—there’s a method to the madness!Demo Safely and Smartly
- Turn off utilities before removing electrical or plumbing fixtures.- Wear protective gear—gloves, goggles, and dust masks are your best friends.
- Rent a dumpster for debris disposal (trust me, the mess adds up fast).
If you’re working with an older home, be mindful of hazardous materials like asbestos or lead paint. These require professional handling.
Step 5: Structural and System Repairs
Now that you’ve cleared the old, it’s time to rebuild the skeleton of the house. This is where the heavy-duty (and often expensive) work happens.Roof, Foundation, and Framing Repairs
A weak foundation or leaking roof can make all other renovations pointless. Address these issues first to avoid future headaches.Plumbing, Electrical, and HVAC Updates
If you’re updating major systems, now is the time. Rewiring an old house or replacing outdated plumbing should happen before walls and flooring go in.Step 6: Walls, Floors, and Ceilings
Once the major systems are updated, you can start making the house look like a home again.Install Drywall and Insulation
Proper insulation will improve energy efficiency and comfort levels. New drywall smooths everything out and sets the stage for paint and décor.Flooring Choices Matter
Whether you opt for hardwood, tile, or luxury vinyl plank, ensure your flooring choice suits your lifestyle and budget. Don’t skimp on underlayment—it helps with insulation and noise reduction.Step 7: Kitchen and Bathroom Upgrades
Kitchens and bathrooms sell homes, so it’s worth putting extra effort here.Refacing vs. Replacing Cabinets
If the existing layout works and the cabinets are solid, consider painting or refacing them instead of a full replacement. This can save thousands of dollars.Fixtures and Finishes
New faucets, lighting, and hardware can make an outdated space feel fresh without a total gut job. In bathrooms, upgrading to a modern vanity and tiled shower can add serious value.Step 8: Adding Curb Appeal
First impressions matter. The exterior of your home is the first thing neighbors and potential buyers will see.Simple Touches That Enhance the Look
- Fresh paint or siding repairs- A new front door or updated hardware
- Landscaping improvements like trimmed bushes and new mulch
- Outdoor lighting for a welcoming effect
Small changes make a big impact without breaking the bank.
Step 9: Final Touches and Staging
Now, the fun part—decorating and personalizing the space!Choose a Neutral Yet Stylish Palette
Neutral colors appeal to a wider audience, especially if you plan to sell. Add personality with statement lighting, accent walls, or unique décor.Staging for Maximum Impact
If selling, stage your home to highlight its best features. Use furniture and décor to showcase the space’s potential. A well-staged home often sells faster and for a higher price.Step 10: The Grand Reveal
After months of hard work, your once-dilapidated fixer-upper is now a beautiful, functional home. Whether you plan to live in it, rent it out, or sell it for a profit, you’ve successfully turned a diamond in the rough into a gem.Revitalizing a property isn’t always easy, but with the right approach, patience, and a solid plan, the results are incredibly rewarding.
Final Thoughts
Taking on a fixer-upper isn’t for the faint of heart. It requires vision, strategic planning, and a willingness to tackle unexpected challenges. But if done right, the transformation can be nothing short of amazing.If you’re considering your first fixer-upper, start small, do your research, and most importantly—enjoy the process. After all, turning a neglected space into something beautiful isn’t just an investment in property, but a testament to creativity and hard work.
all images in this post were generated using AI tools
Category:
Fixer UppersAuthor:

Basil Horne
Discussion
rate this article
2 comments
Ariadne Sheppard
Great article! Transforming a fixer-upper can be a thrilling adventure, like uncovering a hidden treasure. Remember, every nail hammered and wall painted brings you closer to your dream home. Embrace the process, have fun, and soon you’ll be sipping coffee in your revitalized space!
April 12, 2026 at 7:46 PM
Basil Horne
Thank you! I’m glad you enjoyed the article. Embracing the journey truly makes the transformation rewarding!
Selina McNab
Great insights! This guide makes challenging renovations feel achievable and rewarding.
March 27, 2026 at 3:26 AM
Basil Horne
Thanks for your kind words! I'm glad you found the guide helpful for tackling renovations.