How to Prioritize Renovations in Your Fixer Upper
3 August 2026
So, you've just bought a fixer-upper—congrats! You probably got a sweet deal and have a vision of turning that diamond in the rough into your dream home (or a money-making flip). But where do you even start? The to-do list is long, your budget isn't endless, and let's be real—renovations can snowball fast.
Prioritizing your renovations is key to avoiding financial and emotional burnout. At the end of the day, smart choices can be the difference between a home that’s cozy and liveable vs. one that's a never-ending construction zone.
Let’s break it down step by step so you can tackle your project like a pro (without losing your mind).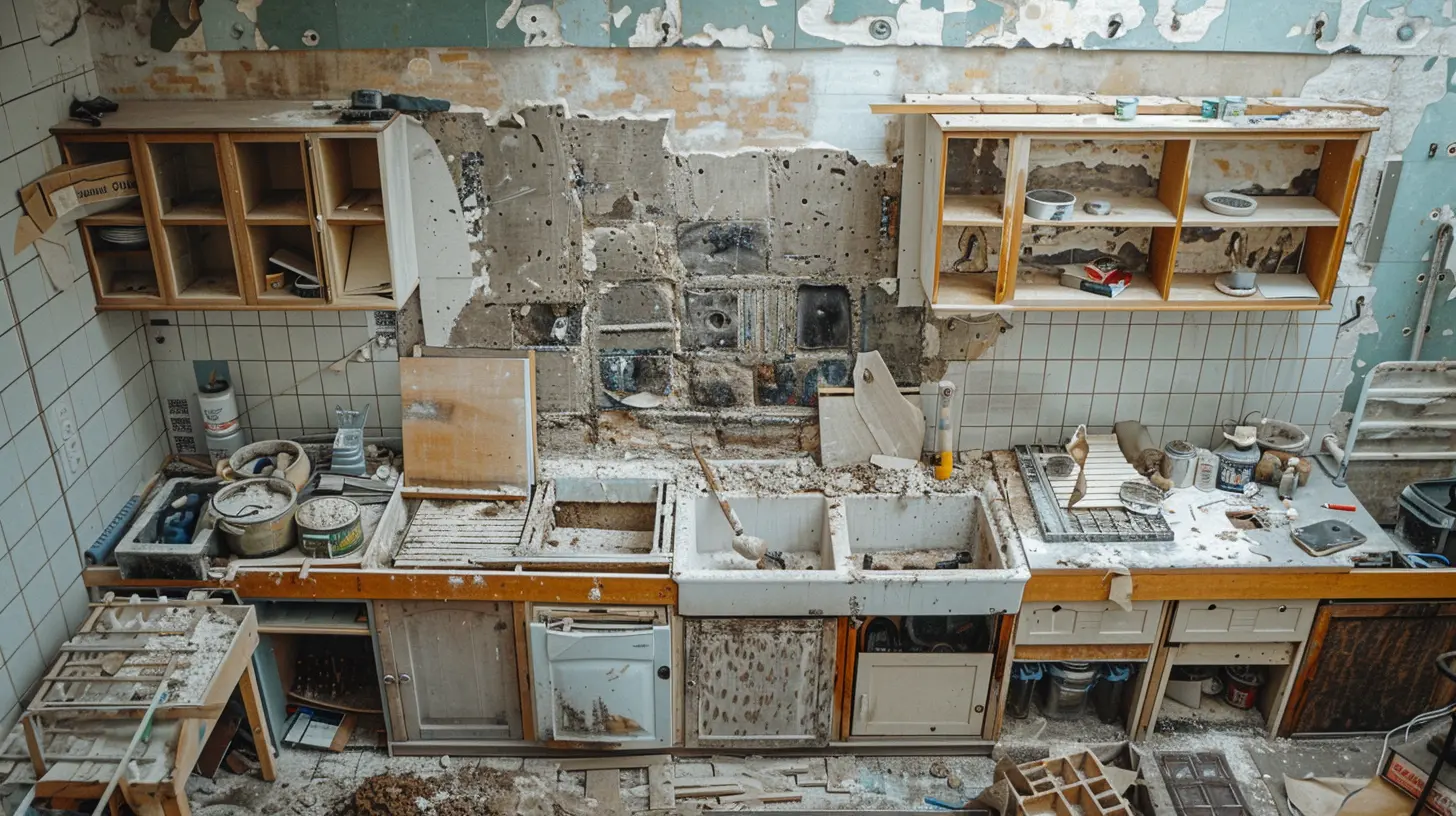
Step 1: Get a Full Picture – Evaluate What You're Working With
Before swinging a hammer or ripping out old cabinets, take a deep breath. You need to know exactly what you’re dealing with.- Hire a home inspector: If you haven’t already, this is non-negotiable. A good inspector can uncover hidden problems like foundation cracks, mold, or outdated wiring that could derail your plans (and budget).
- Walk through the house: Take notes, snap photos, make a list of everything that needs fixing. And yes, even that weird wallpaper in the guest bathroom counts.
- Rank by urgency: Is it broken, dangerous, or just ugly? Keep a notebook with three columns: Must Fix, Should Fix, and Want to Fix.
Think of this like triage at the ER—you’re not starting with Botox; you’re stopping the bleeding.
Step 2: Safety First – Handle Structural and System Issues
If your roof’s leaking or your electrical panel’s from the 70s, forget that Pinterest-worthy kitchen for now. You’ve got to tackle the bones of the house first.Key structural and system priorities:
- Roofing: Leaky roofs can cause mold, rot, and major headaches. Don’t ignore it.- Foundation: Cracks or shifting could hint at major structural instability.
- Plumbing & Electrical: Outdated systems = fire hazard or flood risk.
- HVAC: Nobody wants to freeze in December or melt in July.
Yes, these fixes are expensive and not the sexiest. But getting them done early means peace of mind—and fewer surprise bills down the road.
? Pro Tip: Work with professionals here. DIY is great, but not when you’re messing with gas lines or support beams.
Step 3: Make It Livable – Prioritize Key Living Areas
Once the home is safe and sound, it’s time to focus on functionality. You're probably itching to make it pretty, but hold your horses—we need to make it livable first.Start with:
- Kitchen: It's the heart of the home. Even a small facelift can go a long way. If you're living there during renos, having a functioning kitchen is life-saving.- Bathrooms: Second in line. Fix leaks, swap out old vanities, and make sure everything runs smoothly.
- Bedrooms: These are usually cosmetic, so they’re less urgent—but if you’re moving in, at least make one room a peaceful retreat.
Think of this phase like building the ship’s deck before worrying about decking it out with string lights and a hot tub.
Step 4: Boost Efficiency – Think Energy and Money Savings
You want to keep those monthly bills low, right? That’s where energy efficiency comes in. Sometimes these upgrades even earn you tax credits or rebates—bonus!Smart improvements include:
- Windows and doors: Drafty windows are like leaving money on the sidewalk.- Insulation: Especially in the attic and basement—keeps the house warm and cuts costs.
- Appliances: Energy Star-rated appliances might cost more upfront but save you more over time.
- Water heater: Tankless options are becoming the new norm for good reason.
⚡️ Cutting-edge can be cool—but practical wins the race, especially when you’re trying to stretch a renovation budget.
Step 5: Go for the Curb Appeal – First Impressions Matter
While you’re inside sweating over drywall and light fixtures, don’t forget the outside. Your home’s exterior is the first thing people see—whether potential buyers, guests, or even just nosy neighbors.Curb appeal tweaks that pack a punch:
- Fresh paint or siding pressure-wash- New house numbers and light fixtures
- Landscaping: Trim the bushes, lay some mulch, maybe plant a tree
- Updated front door or mailbox
? It's amazing what $500 and a weekend can do for your front yard. Remember: you never get a second chance to make a first impression.
Step 6: Now—The Fun Stuff (Cosmetic Upgrades)
Finally! This is the part you’ve been waiting for—the aesthetic upgrades. It’s where your personality shines and the space really starts to feel like home.Here’s the kicker: these should come last. No sense in painting walls if the plumbing still needs replacing later. That just means doing work twice.
Cosmetic upgrades that transform:
- Paint: Nothing’s cheaper or more transformational.- Flooring: Vinyl, tile, hardwood—whatever fits the vibe and budget.
- Lighting: Swap outdated fixtures for something modern and warm.
- Cabinetry and hardware: New knobs can change the whole kitchen's look.
- Accent walls, backsplashes, or open shelving: Pinterest it up!
Think of this like putting the icing on the cake—tastes better after the layers are baked right.
Step 7: Stick to Your Budget (Seriously)
One big myth about fixer-uppers? That they’ll be cheap. The truth: unexpected costs will pop up, so have a cushion.Tips to stay on track:
- Prioritize your list: It’s okay if the guest bathroom has to wait.- Track every expense: Use a spreadsheet or app.
- Budget 10–20% extra: Just in case (and there will be a “just in case”).
? Pro Tip: Don’t try to do it all at once. Phasing your reno—room by room—keeps costs manageable.
Step 8: Know When to Call the Pros
We all love a good DIY moment, but some projects are better left to the pros. Mistakes with electrical, plumbing, or load-bearing walls can be dangerous—not to mention expensive to redo.When in doubt, ask:
- Can I pull the permits myself?
- Do I have the tools and time?
- Will this impact safety or structure?
Sometimes paying a contractor $2,000 now can save you $10,000 and a lawsuit later.
Step 9: Keep Your Endgame in Sight
Are you fixing to flip it? Planning to live in it for life? Your goals should guide your choices.- Flipping? Focus on broad appeal: neutral colors, mid-range finishes, clean and safe.
- Living in it? Customize to your heart’s content. Love bold tiles or funky wallpapers? Go for it.
- Renting it out? Durability matters. Opt for materials that can take a beating.
? Always renovate with intention—not just because a trend looks cool on Instagram.
Final Thoughts
Renovating a fixer-upper is a marathon, not a sprint. It takes smart planning, patience, and a sense of humor (trust me on that one). By tackling the essentials first and saving the cosmetic fluff for later, you'll avoid burnout and set yourself up for long-term success.Go slow. Be flexible. And remember: every paint splatter and dusty pile of drywall gets you closer to the home of your dreams.
all images in this post were generated using AI tools
Category:
Fixer UppersAuthor:

Basil Horne
Discussion
rate this article
1 comments
Paige McDonough
Prioritizing renovations can make or break a fixer upper. Focus on essential structural repairs first, and then consider updates that enhance value and livability. A thoughtful approach can lead to smart investment returns.
August 10, 2026 at 2:36 AM
Basil Horne
You're spot on. Tackling structural repairs first sets a solid foundation for future updates, ensuring both value and livability. It's all about smart choices upfront.